adonis install @adonisjs/lucidYou are viewing the legacy version of AdonisJS. Visit https://adonisjs.com for newer docs. This version will receive security patches until the end of 2021.
Database
When getting started with any web framework, the first question one often ask is, how to create data-driven applications?. By the end of this guide, you learn how easy AdonisJs makes to interact with SQL databases.
Setup
The database provider is not configured with the slim application blueprint, but setting it up as simple as installing it from npm.
✔ npm: Installed @adonisjs/lucid
create: config/database.js
Post installation, you would have seen a new web page getting popped up in your browser. That is the minimal instructions you need to follow to setup the installed package.
Feel free to ignore the setup instructions and follow this guide instead.
Registering provider
As always we need to register the database provider inside start/app.js file.
const providers = [
  '@adonisjs/lucid/providers/LucidProvider'
]

const aceProviders = [
  '@adonisjs/lucid/providers/MigrationsProvider'
]
Configuration
The database package (lucid) supports all popular SQL databases out of the box. You can learn more about it here
By default, the configuration file (config/database.js) makes use of sqlite database and needs a SQLite driver to be installed from npm.
adonis install sqlite3Creating database tables
Now since the setup process has been completed, let’s get started by creating a database table and run some queries to interact with it.
Creating database tables in AdonisJs is done via migrations. It is fine if you do not understand the concept of migrations properly, just follow along and you will find them super easy and useful.
More adonis ❤️ to create the migration. Also, select the Create table option on prompt.
adonis make:migration BlogPost✔ create database/migrations/1502346098443_blog_post_schema.jsThe created file gives you an interface to create the database table structure using JavaScript. Let’s see it in action.
'use strict'

const Schema = use('Schema')

class BlogPostSchema extends Schema {
  up () {
    this.create('blog_posts', (table) => {
      table.increments()
      table.string('title')
      table.text('body', 'longtext')
      table.timestamps()
    })
  }

  down () {
    this.drop('blog_posts')
  }
}

module.exports = BlogPostSchema
The migration file has two methods
- up
-
The
upmethod is used to take action on a table. It can be creating a new table or altering the existing table. - down
-
The
downmethod is the reverse of the up action. Whenupmethod creates a table, you simply drop it inside the down method.The beauty of this approach makes it easier to roll back the database changes.
Now finally we can run another command to create the table using the schema file we just updated.
adonis migration:runmigrate: 1502346098443_blog_post_schema.js
Database migrated successfully in 86 msLet’s take a moment to recap on what we did so far.
-
We installed
@adonisjs/lucidpackage from npm and registered the required providers. -
Next, used the migrations feature to create a schema file and migrated the database.
Using database
Let’s see how we can use the Database provider to fetch all the blog posts from the database.
const Database = use('Database')
const Route = use('Route')

Route.get('/posts', async () => {
  return await Database.table('blog_posts').select('*')
})
Assuming the web server is running on port=3333. If you visit localhost:3333/posts, you see an empty array is returned, that is because we have not saved any posts inside the database table.
Saving posts
The ideal way is to have an HTML form to create the posts, but for the sake the simplicity, we take a shortcut and use the Adonis repl to interact with the database.
What is repl?
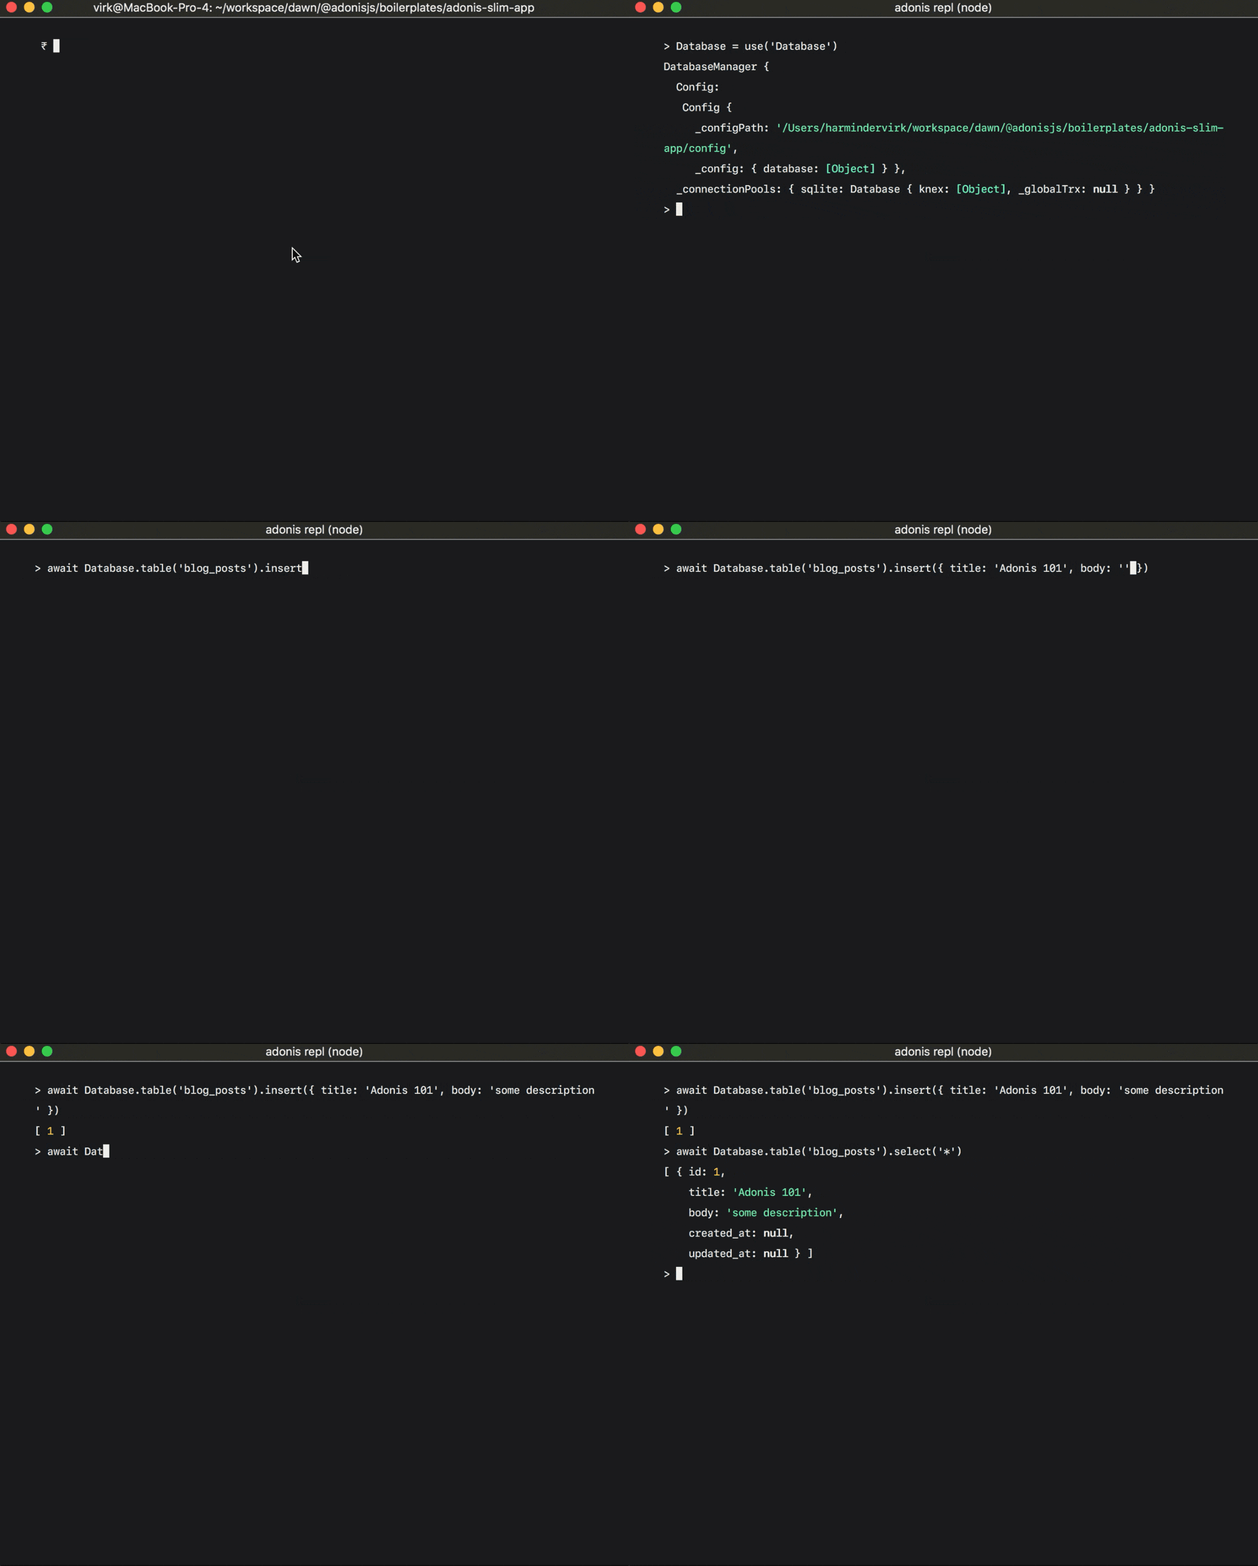
AdonisJs has an inbuilt command line repl, which can be used to interact with your application from command line. Let’s see it in action to create a post.
The following command starts the repl session, and you are free to run Node.js code inside it.
adonis replSo paste the following code inside it
await use('Database').table('blog_posts').insert({ title: 'Adonis 101', body: 'some description' })- Animated Gif
-
Check out the following gif to see it in action

Now if you refresh the browser localhost:3333/posts you see the recently created blog post being returned as JSON.
Next Steps
This guide was just an introduction to the Database provider, and there is a lot you can do when it comes to data-driven applications. Consider learning more about